We have customers from various technology backgrounds and experience levels, some are new to AWS and some are experienced and likewise with Microsoft Azure.
We are about to start a new project and Microsoft Azure is the preferred choice of the customer so, we thought to document the “Getting Started” series. In this post, I will show how to start and connect VM using Microsoft Azure. If you are experienced with AWS Cloud and looking to explore Microsoft Azure you will find this post useful.
Note: Before following these instructions, make sure you have signed up with Microsoft Azure visit Azure homepage and signup a free account. You can follow these instructions with a free trial subscription.
Generate SSH Keys
In AWS in order to connect to the VMs, you need to create “KeyPairs”. In Azure world, you have to generate these SSH keys manually.
In this post, we will keep things simple, for Mac and Linux execute the following commands with default filenames, make sure you generate these files in a .ssh directory under user’s home.
Note: For complex and custom key name setup follow this guide
$ cd ~/.ssh

$ ssh-keygen -t rsa -b 2048

$ cat ~./ssh/id_rsa.pub
Note: For Windows follow this guide
Create a Virtual Machine
In the Azure world, the services are called ‘Resource’.
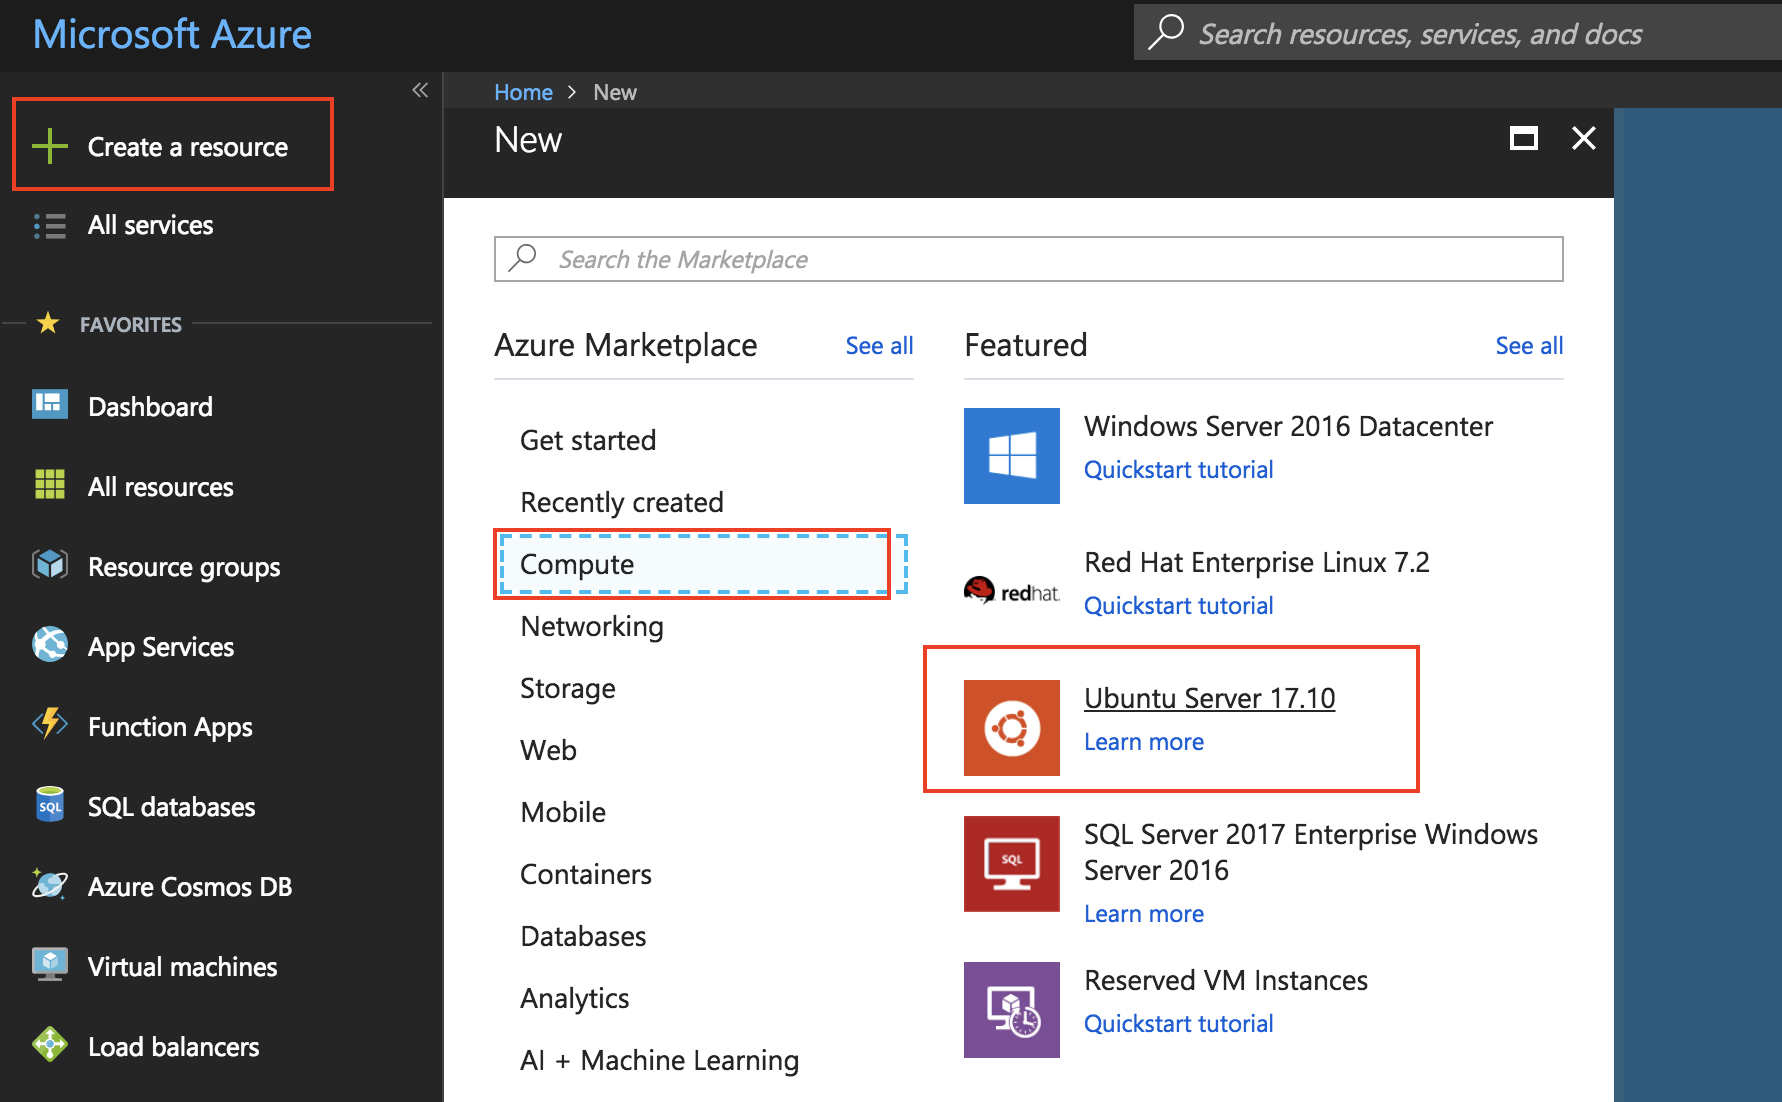
- Click the Green ‘+’ sign to start creating a Resource.
- Select Compute under Get Started list
- Select Instance of your choice, here we are using Ubuntu Server 17.10
- Click OK
- Enter VM name
- Select VM disk type as SSD which is a default, you can also select HDD to low cost + slow speed option
- Enter Username that would be your root user
- Select Authentication type SSH public key or Password. In this post, we generated SSH keys earlier we will use it here
- Paste the content of the ~/.ssh/id_rsa.pub file in the SSH public key field
- Resource Group is a convenient way to group all resources together, similar to tags in AWS, I would suggest using a project name or something similar to identify resources
- Click OK

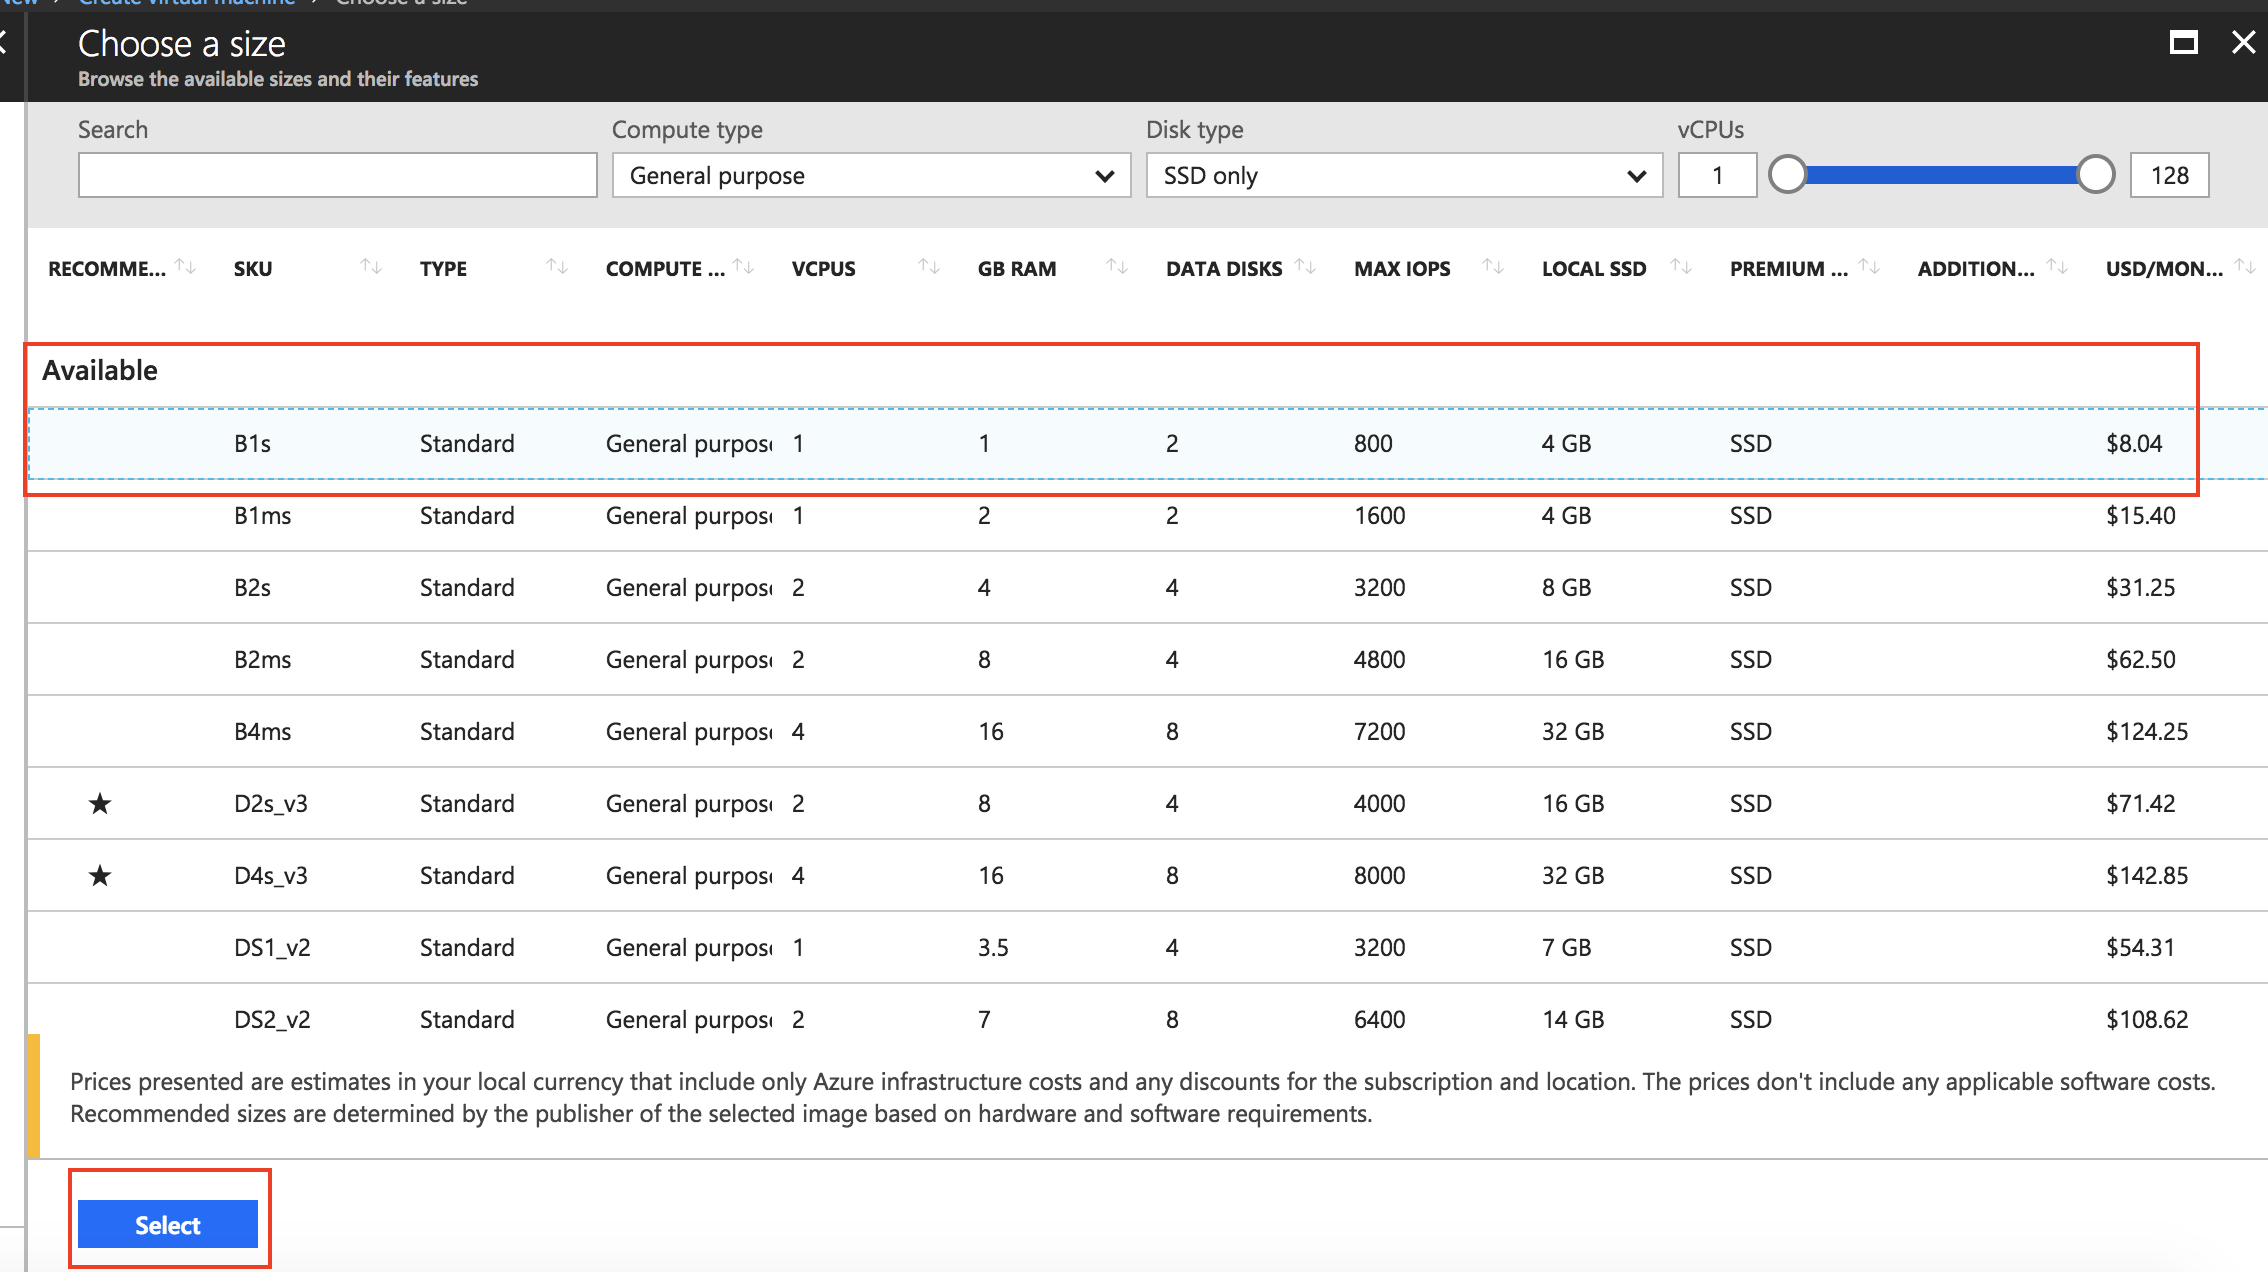
- Choose a VM size (depends on your requirements), In this post, we are going with very basic B1s SKU
- Click Select
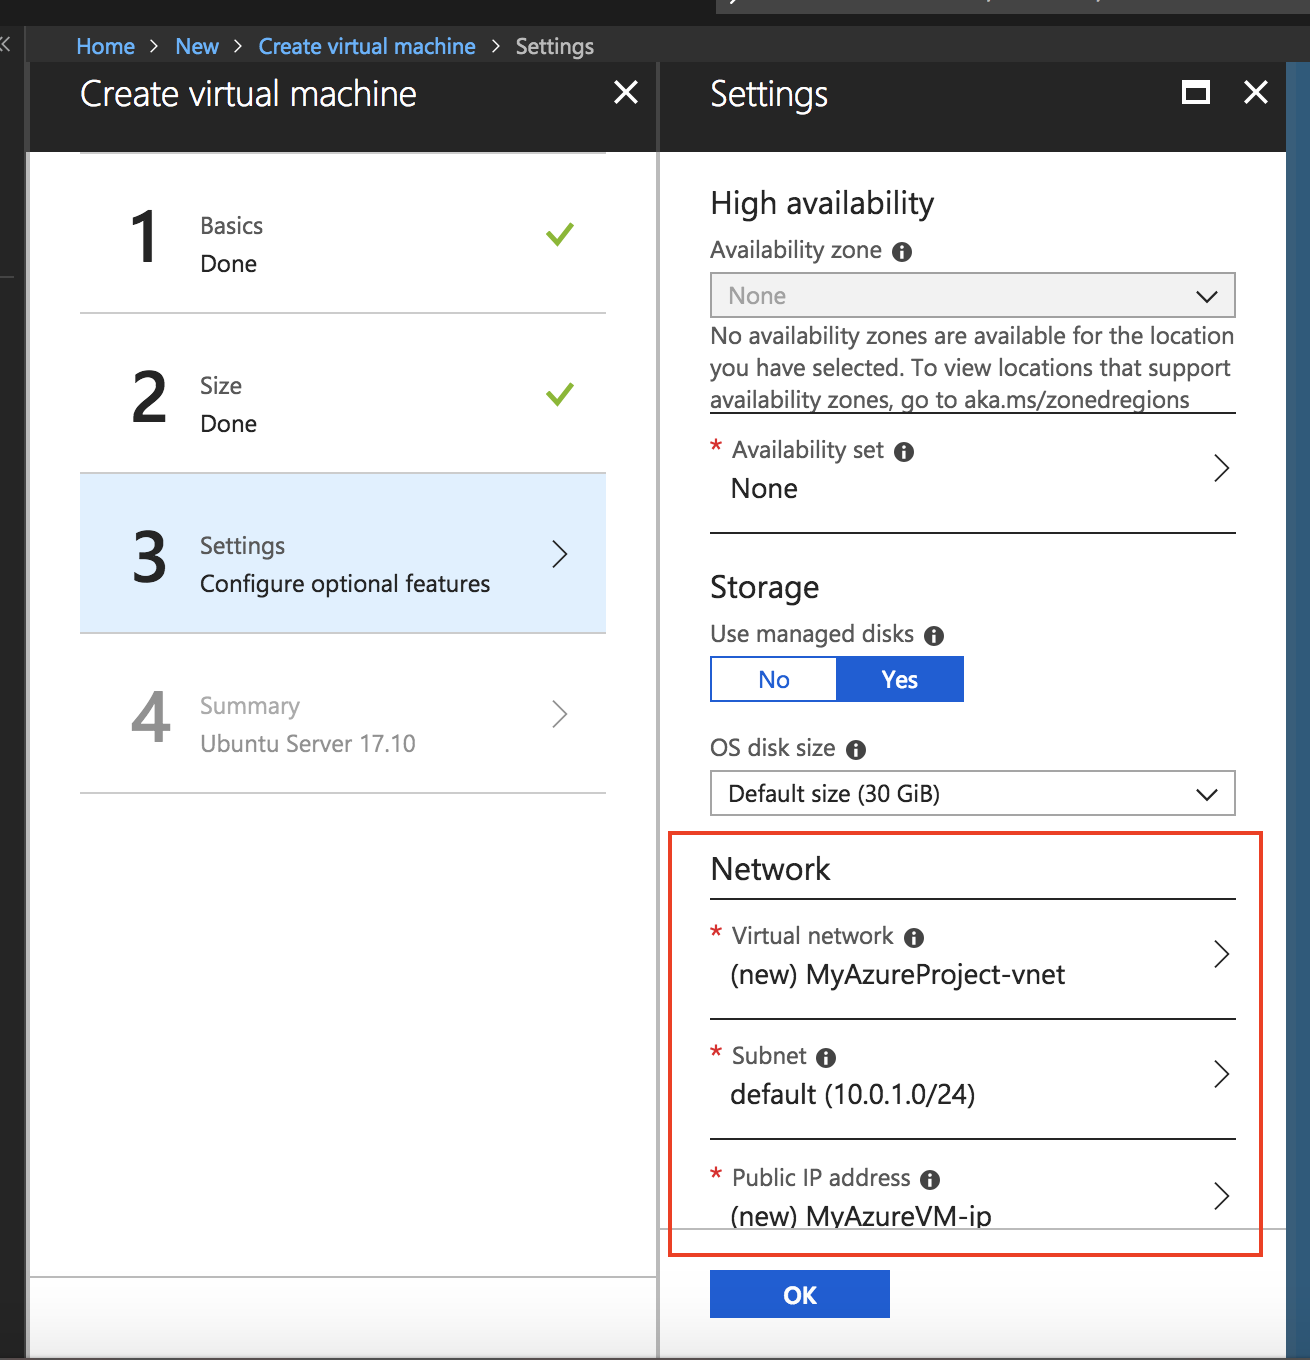
- Select Availability Zone (if required) we are using defaults for Network and Subnet settings
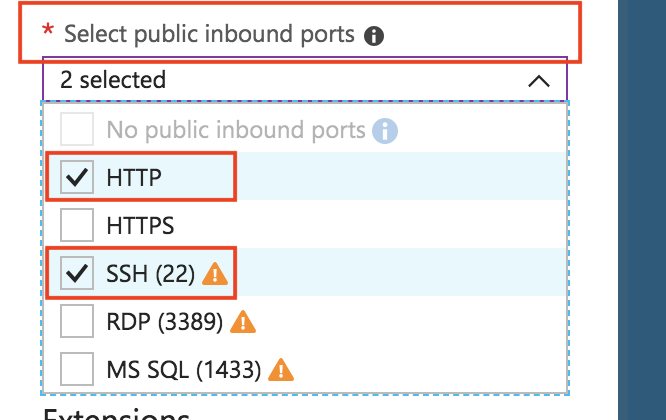
- Expand Select public inbound ports and choose SSH and HTTP, this will allow connections on these ports on this VM
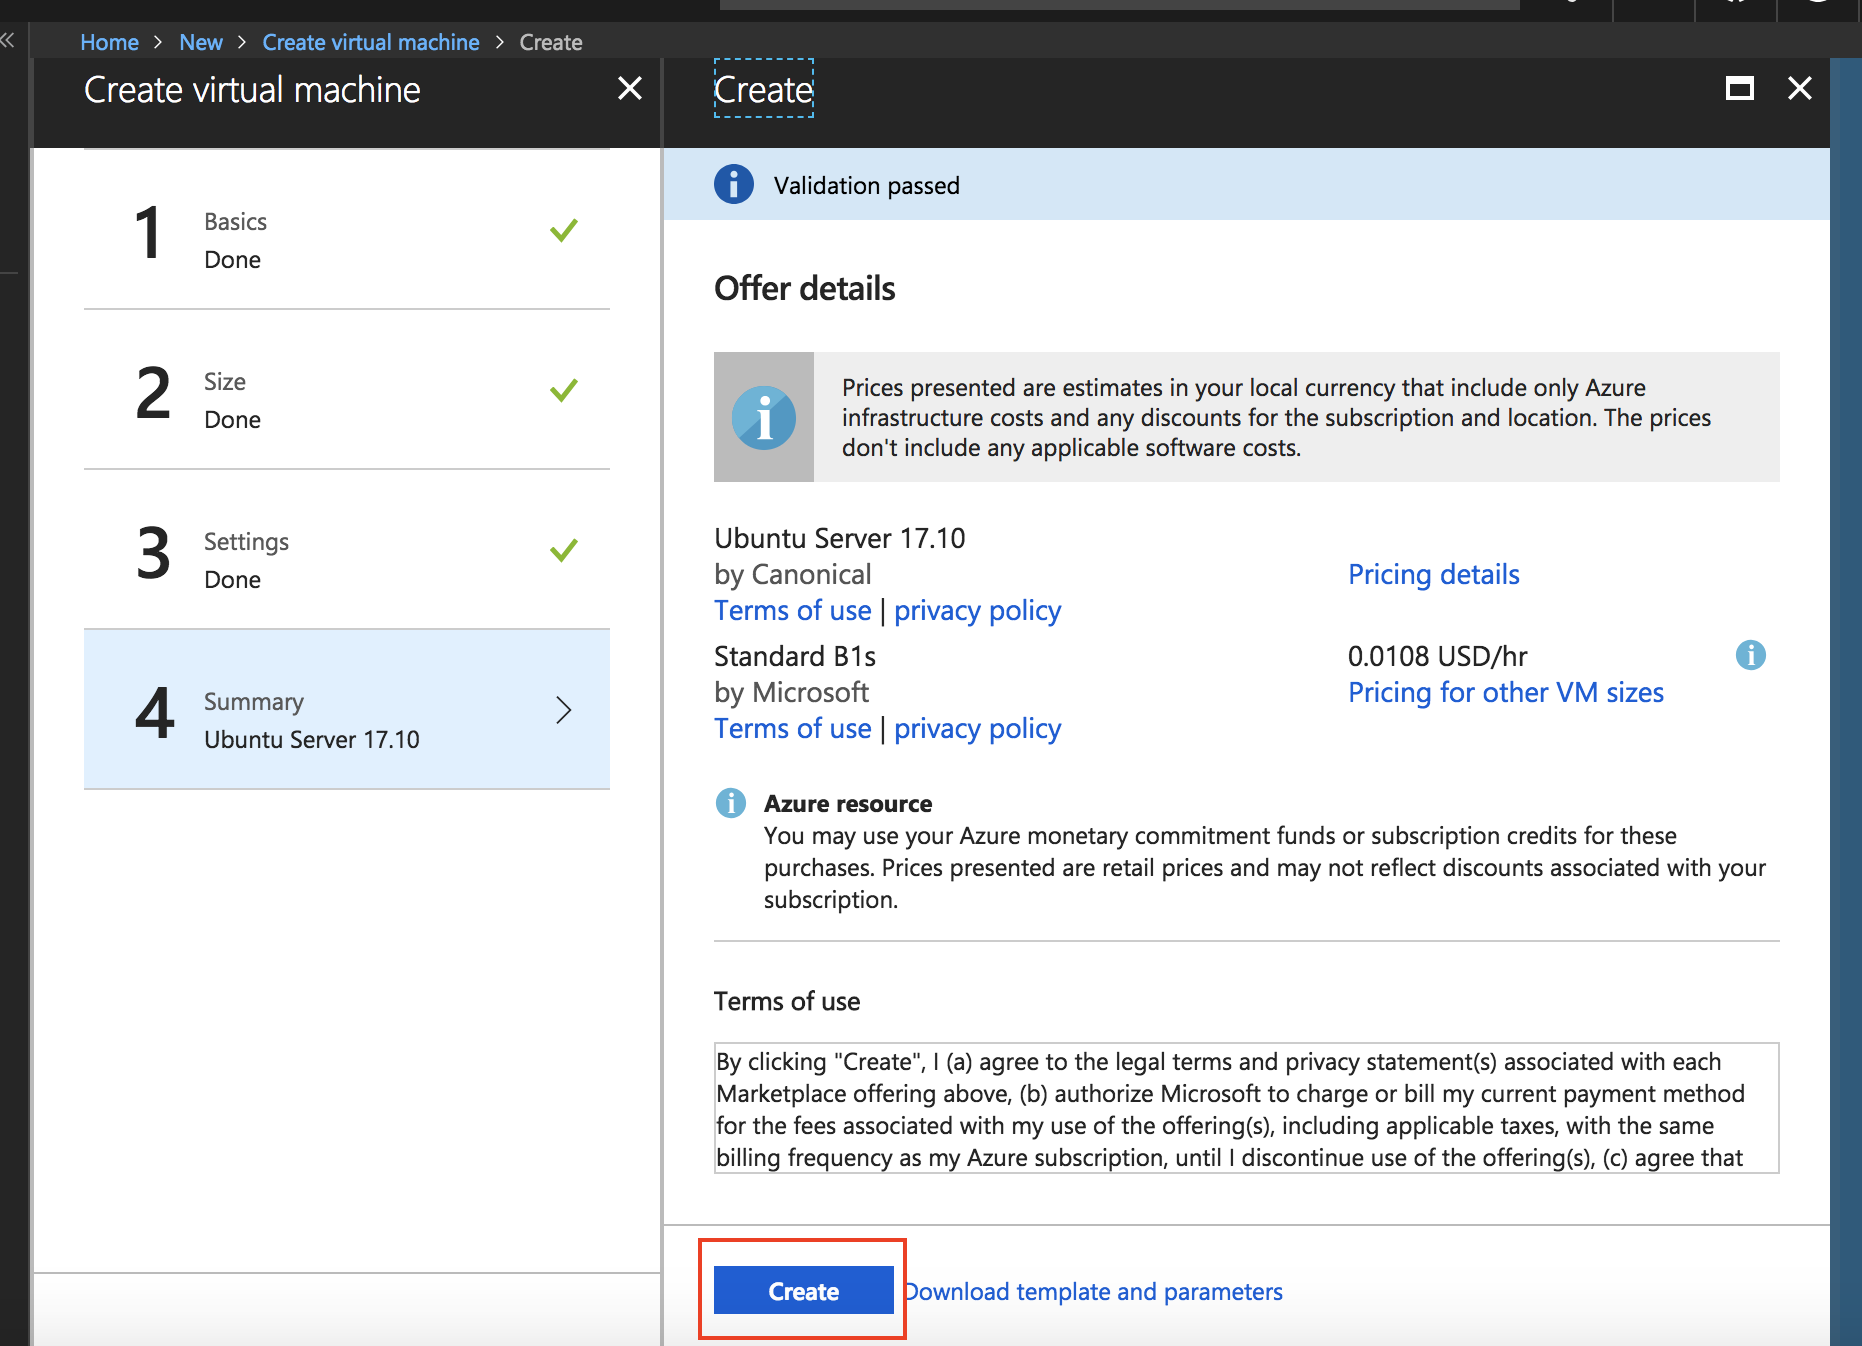
- Review Summary and click Create
Verify Resources
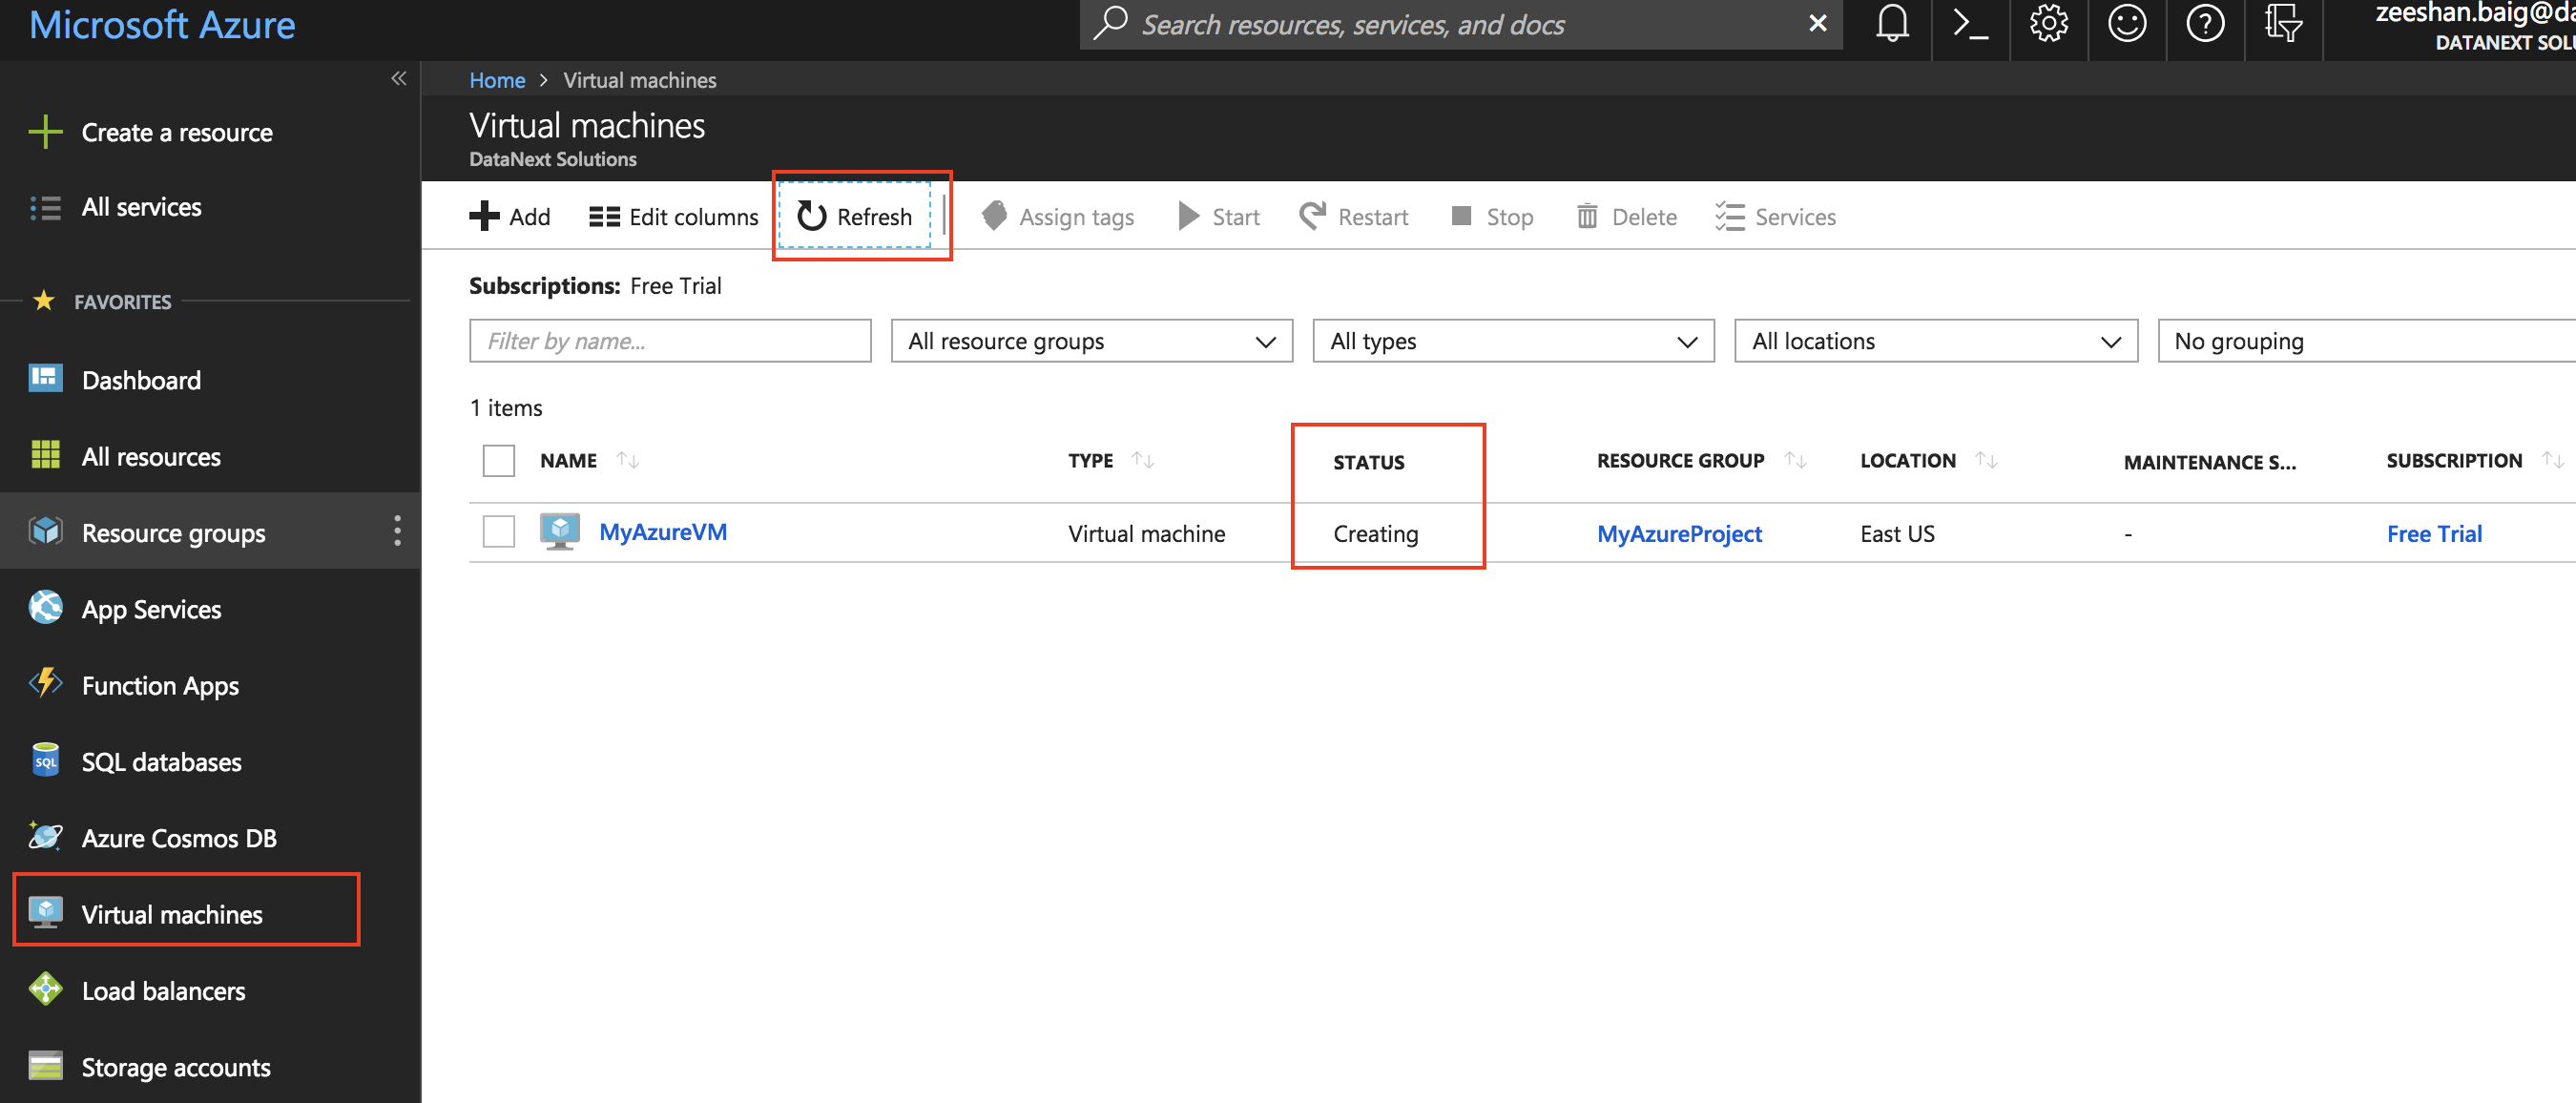
- Click Virtual Machines in the left panel
- Hit Refresh to see your new VM appears in the list
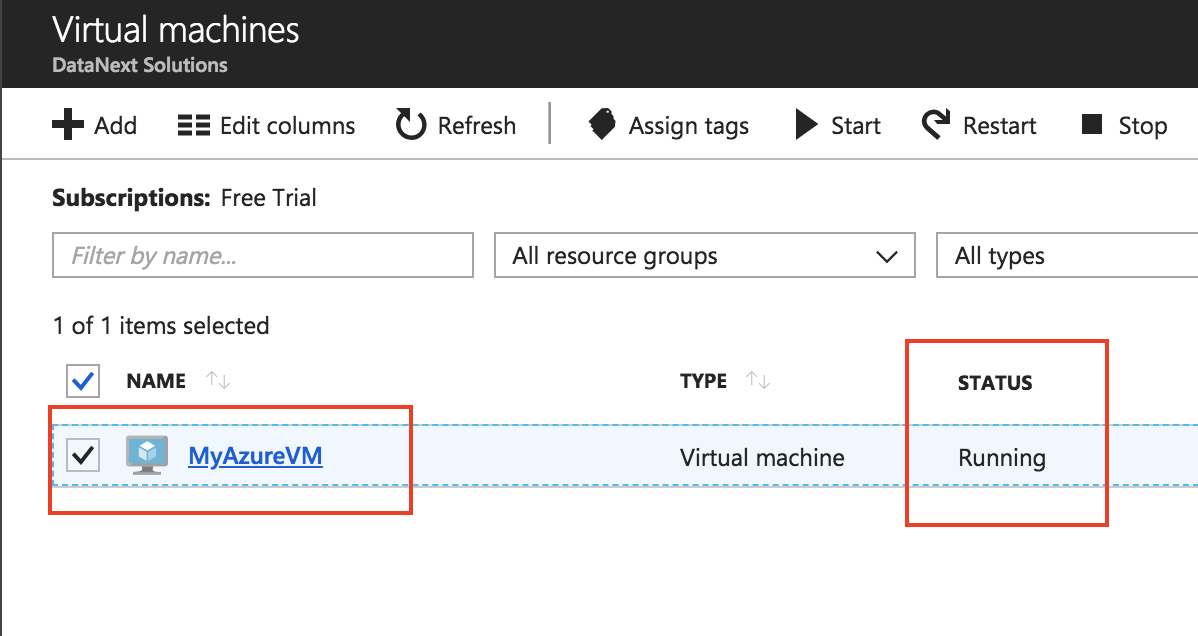
- Wait for Status to turn Running
Connecting to Virtual Machine
- Click on VM name in Virtual Machine, this will open another summary panel
- Click Connect to get more info about commands based on your OS

- Copy the command from Login using VM local account field
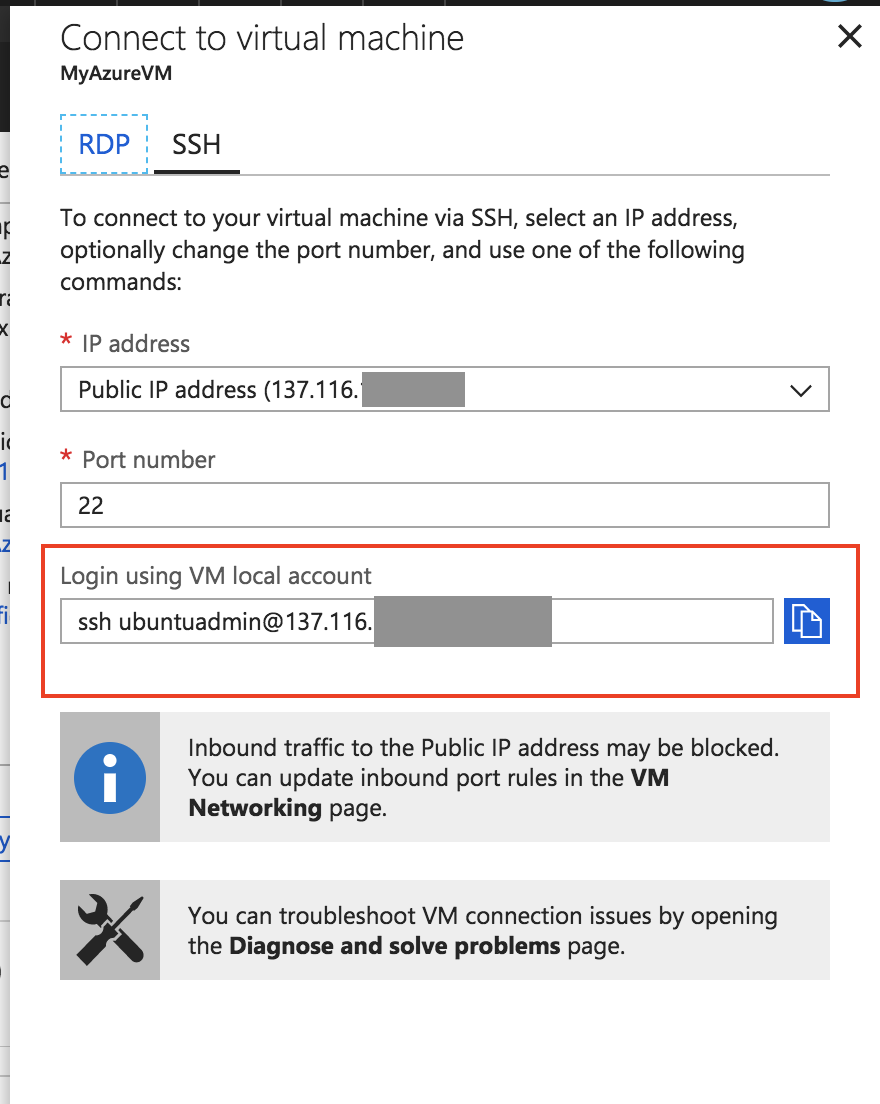
- Execute the command in your Terminal
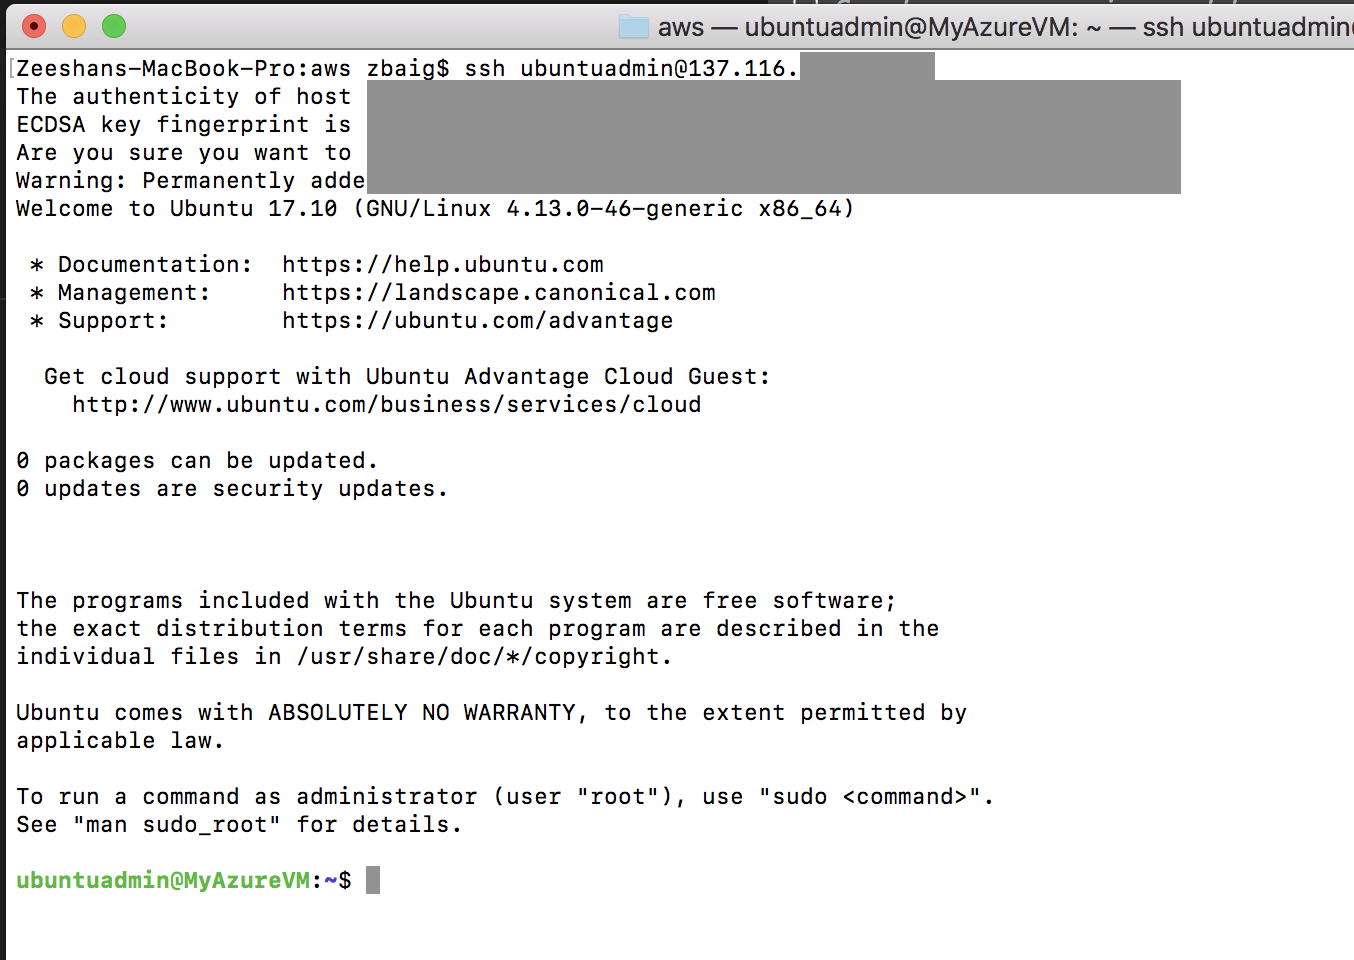
There you go you have successfully launched and connected to Virtual Machine in Microsoft Azure using Azure Portal
Clean up or Destroying Resources
Note: If you are following this post for practice and like to avoid any extra charges from Microsoft, delete all resources that you have created.
You can delete Individual VMs as well as delete all resources together using resource group option (see below)
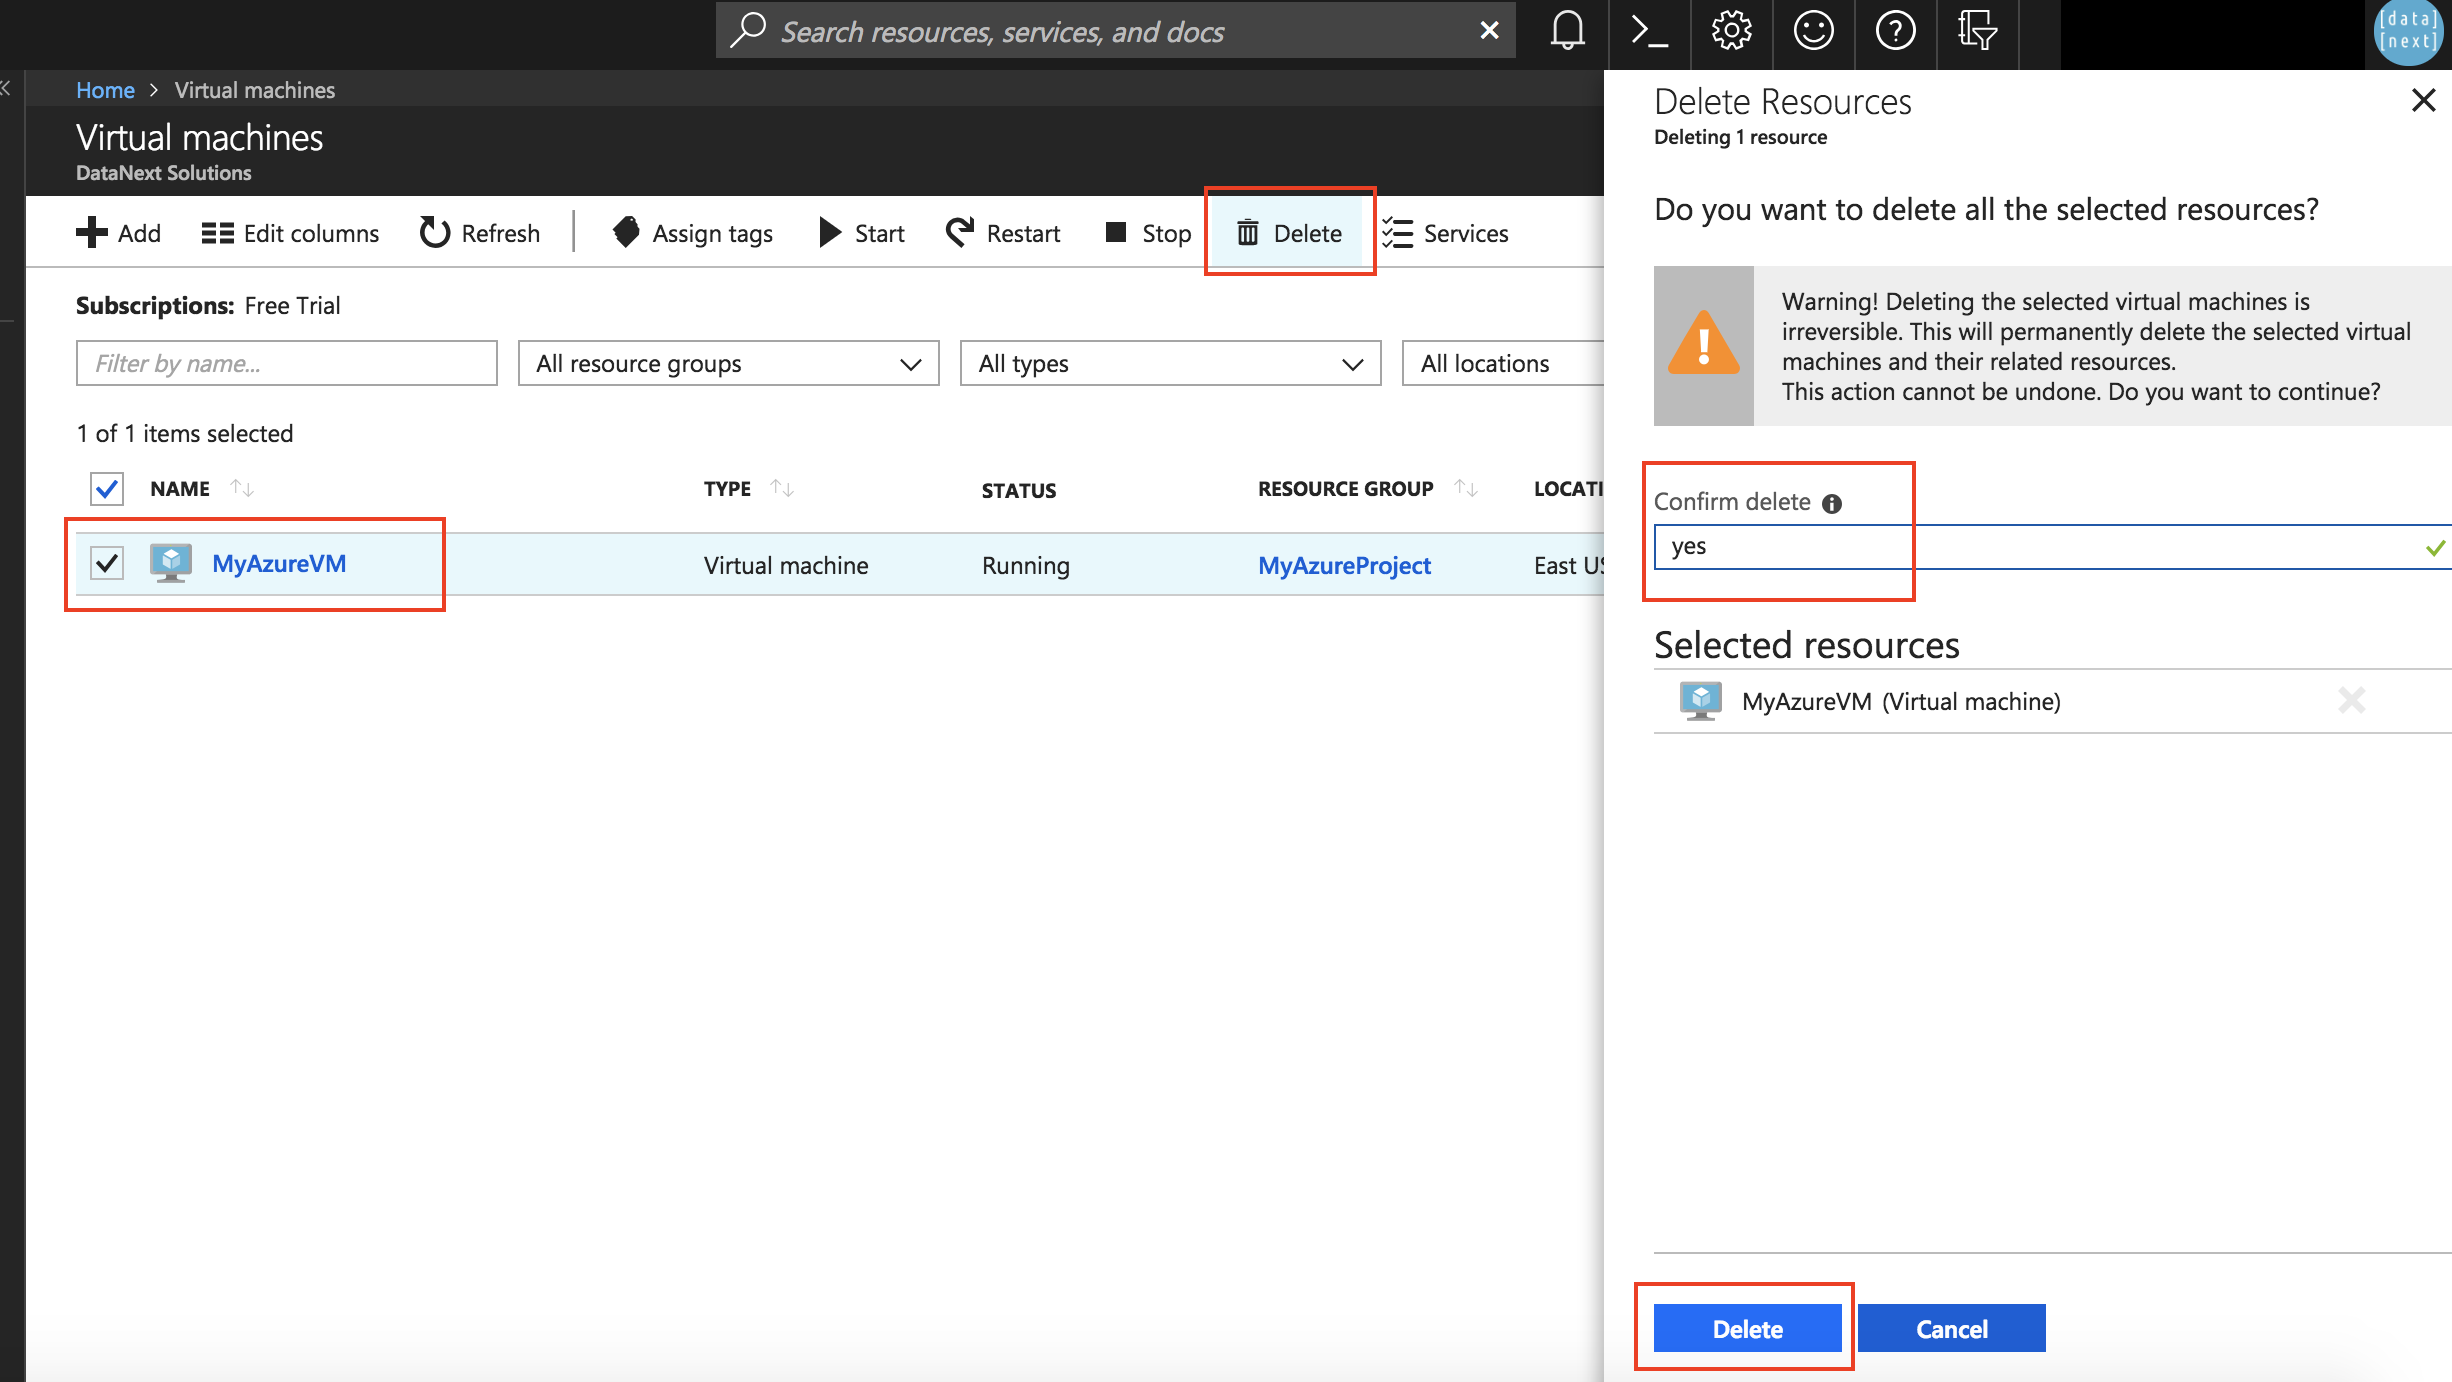
- Select VM and click Delete
- Enter yes to confirm and click Delete again
When you create a virtual machine Azure creates extra stuff such as Public IPs, Network and more. You can delete them all together using the following steps
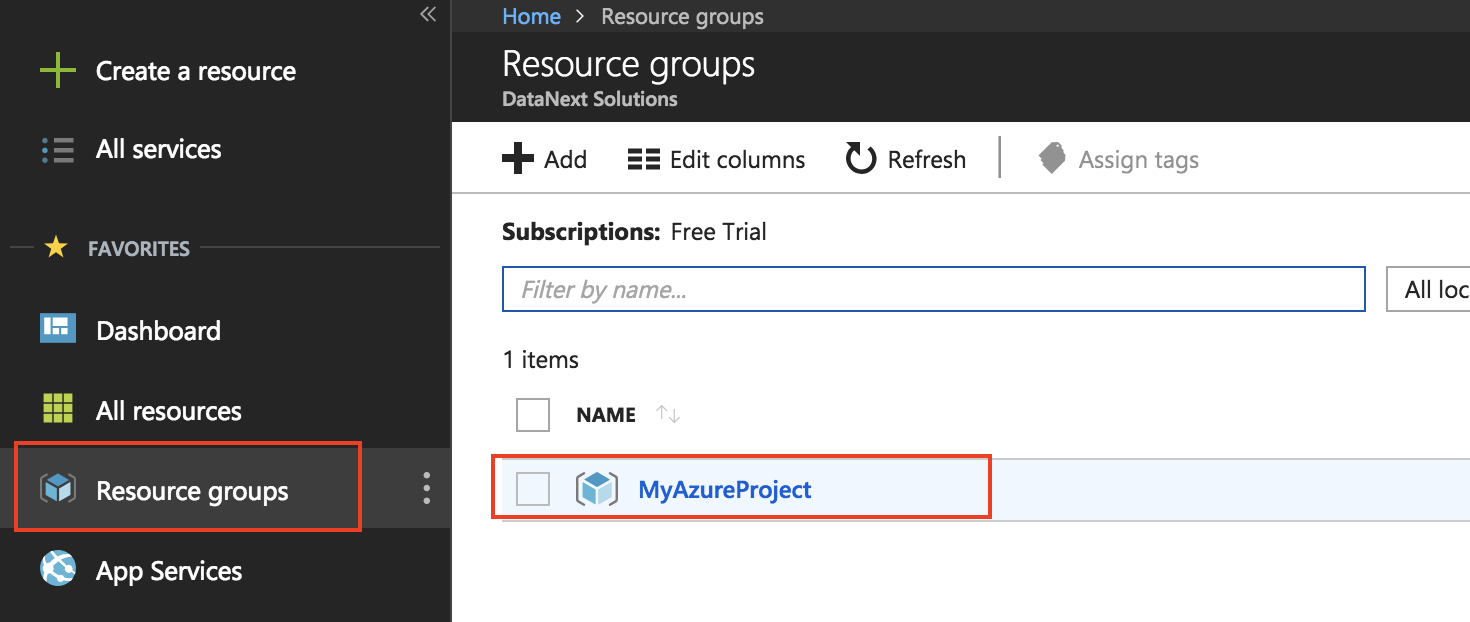
- Click Resource Group in the left panel
- Click your Resource group
- You can see the details of the Resource group
- Click Delete resource group to delete all the resources

- Enter Resource Group name to confirm
- Click Delete

- Click Dashboard on the left panel
- Make sure you don’t see any resources there

Congratulations!!! you just created your first VM in Microsoft Azure Cloud and successfully cleaned up all artifacts.
Feel free to comment and ask any questions
Cheers,
Zeeshan Baig
About DataNext
DataNext Solutions is a US based system integrator, specialized in Cloud, Big Data, DevOps technologies. As a registered AWS partner, our services comprise any Cloud Migration, Cost optimization, Integration, Security and Managed Services. Click here and Book Free assessment call with our experts today or visit our website www.datanextsolutions.com for more info.